60 mph winds in the morning and 90 mph winds in the evening - just enough time to squeeze a route in in the Northern Corries!
Myself and Sean headed back on up the A9 on Thursday 12th to try and squeeze another route out of what's appearing to be a particularly fickle Winter. The colder periods have all lasted merely a handful of days and have been proceeded by turbo thaws which have generally stripped everything off the cliffs. This has left the Scottish hills in a particularly lean state for this time of year. One silver lining however has been that the distinct lack of snow has left most turf and rock exposed to the cooling winds when Winter has made its fleeting appearances. Due to this the likes of Coire an Lochain has come back into condition quickly after an icy blast of air.
 |
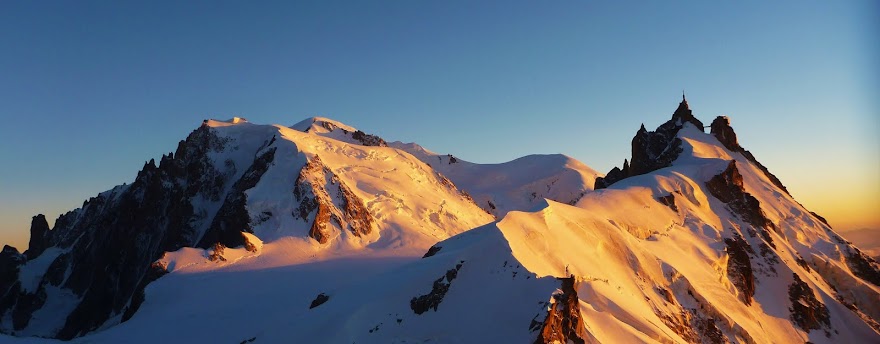
| A pretty lean Lochain, but in good 'favourable' conditions for harder mixed climbing. The Hoarmaster takes the obvious square cut chimney lower down on the right, before finishing up the narrow chimney directly above. |
We left the ski centre car park that morning initially with the idea of heading into Sneachda. We were expecting a fair amount of fresh snow from the previous night which fell on north-westerly winds to whiten things up yet leave the crag aprons safe enough to approach. It appeared however that the 90 mph winds that night had simply vaporized everything off of the Sneachda cliffs leaving them in a depressingly black state. We had managed to catch a brief glimpse through the clouds of the Lochain cliffs which looked whiter, so we changed plans and plodded back in there.
Thankfully we were duly rewarded once we arrived. No.2 and No.3 buttresses were in pretty favorable (easy) condition for harder mixed climbing with light rime ice and mostly dry cracks. We had been considering a shot on The Hoarmaster this Winter, although were concerned with its reputation of developing significant accumulations of rime ice, particularly on the top pitch. After inspecting the line that morning however, it was clear that if we did not climb it that day then we had bottled it!
 |
| The initial moves into the chimney are probably the crux of the pitch (picture credit Sean Henderson). |
Soon I was gearing up on the starting ledge which was shielding us nicely from the westerly winds. From here you step up and mantle onto the bigger ledge above, popping out immediately beneath the superb square cut chimney which defines the first pitch. I placed a solid nut low down on the right at the entrance to the chimney before stepping up on some decent ledges. I managed to get a good hook at the start of the crack on the right-hand side and began reaching up and left, eventually settling on what felt like a pretty solid slight torque at the base of the left-hand crack line. From here I slotted in a cam at chest height then just relaxed slightly....I was off!
 |
| Gaining the big hooks at the back of the chimney; you can't fall out of these! (picture credit Sean Henderson). |
Before I knew it I was on the rope with my feet back on the turfy ledge below. Seriously surprised to have popped off but even more seriously pissed at carelessly blowing the onsight, I calmed my thoughts for a couple minutes before getting back on. This time I remained focused and kept myself tight while moving off the left-hand torque, no problems second time round. This allowed me to gain a hero hook higher up on the right which I confidently yanked up on. Once in the chimney proper the climbing was truly superb, another hero hook followed and it was simply a case of locking off and reaching for the next one again and again. You cannot beat steep secure well protected climbing like that!
 |
| Some classic back and footing action up the chimney (picture credit Sean Henderson). |
Before turning right out of the chimney you are afforded a proper back and foot rest, although the climbing didn't feel pumpy due to the secure nature of it. Some moves up the wall on the right lead you to a slightly awkward mantle up onto a boulder ledge which is best tackled with an elegant dive and belly flop! This brings you to the insitu belay (second insitu station, not the first). Sean followed on up in good style, managing to avoid the hot aches too!
 |
| Sean pulling out of the chimney after following on up the first pitch. |
Sean chased on up the second pitch mindful of the forecasted gales that evening. The second pitch was whiter still and the cracks a bit icy. It follows the continuation of the chimney with interspersed bulges to contend with, before finishing up a tight wee slot right at the top (we'd recommend to avoid the slab on the left). There's no show stoppers in the pitch as long as you can dig out the protection required before each bulge.
 |
| Myself within the final wee squeeze before topping out (picture credit Sean Henderson). |
Back on the plateau we were both really chuffed with the line, myself still annoyed to have blown the onsight due to carelessness though. It is a really great wee route with super fun moves - I enjoyed it more than Savage Slit. The first pitch is very safe as long as the cracks are clear and dry; if in that state it's a good one to jump on for your first VI.
No comments:
Post a Comment